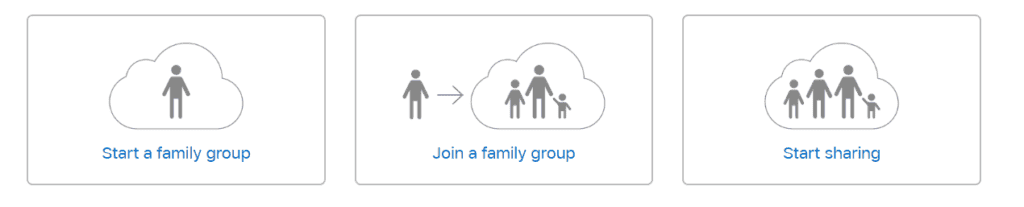
Apple HomePod

Controls & Settings guide

Apple’s Family Sharing feature allows parents to set up an Apple ID for kids, manage their screen time, approve app spending and downloads.

Apple HomePod logo

What do I need?

Requires an Apple ID account and an Apple device

Restrictions you can apply

icon Apps Access
icon In App purchasing
icon Inappropriate content
icon Media streaming
icon Parental control
icon Privacy
icon Sharing location

Step by Step instructions

1

Get started
If you need to create an Apple ID for your child then add them to your family group. After you add them, they will have their own Apple ID that they can use on any Apple device.

homepodstep1
2

Disable in-App purchases and downloads
Ask to Buy is enabled by default for children under 13.
On your iPhone, iPad, or iPod touch, go to Settings > [your name] > Family Sharing, and tap the child’s name. Toggle to the left to switch off.

asktobuy-350
3

Set up Family Sharing
On your iPhone, iPad, or iPod touch: Go to Settings > [your name]. If you’re using iOS 10.2 or earlier, go to Settings > iCloud. Tap ‘Get Up Family Sharing’, then tap ‘Get Started’.

homepodstep2
4

Set up screen time for your child
Next, tap ‘continue’ to set up screen time then set a schedule then tap Set Downtime.

1
homepodstep4350
2
homepodstep5350
5

Set up App limits
You can set daily time limits for the apps your child uses. Tap on the individual app categories then tap ‘Set App Limit’.

homepodstep5-1350-2
6

Privacy settings
Next, tap ‘Continue’ then create a passcode.

1
homestep6
2
homestep7
7

Now tap ‘Done’ to finish the Family Sharing set up!

homestep8
8

Extra tip: Disable Explicit Content
You can stop your child from accessing explicit content. Access the HomePod device from your device and tap on it. In the Music & Podcasts section, slide the ‘Allow Explicit Content‘ to the left.

picture6-2